Before you start, you will need:
- Sideload Channel Launcher 2
- Remote Adb Shell apk
- Weather Live apk and/or Weather apk
- The Nvidia Shield TV Remote app (not essential, but will make this project much easier. Plus it’s an awesome must have app for anyone with a Shield!)
How can I get those?
Sideload Channel Launcher 2 is available on the Google Play Store. Most recent version at time of this article is V 1.88 If you have a lower version number these instructions will NOT work, you need to update your app!
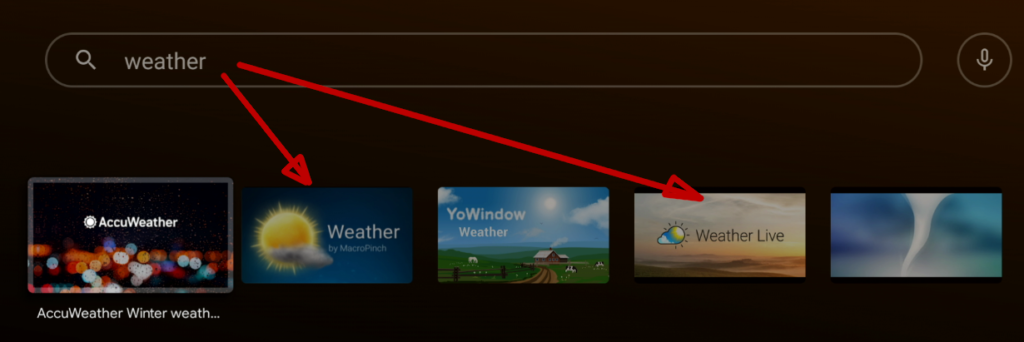
So, on your Shield, open Google Play Store and go to the “Search” section and search for, and install, “Sideload Channel Launcher 2” (see image)

It is a paid app, the cost of which, around $3.89 at time of writing, is less than a large coffee a Starbucks. It will last longer and will be much more satisfying (our opinion).
Remote ADB Shell can be downloaded >>> here <<<
The two weather apps that we found to work with widgets were:
Weather Live (free version) – available to download directly on Shield TV Play Store and
Weather – available to download directly on Shield TV Play Store
If you already have Developer Options enabled on your Shield, skip to Step 2 below
On your Nvidia Shield TV go to Settings->Device Preferences->About and scroll all the way down to Build
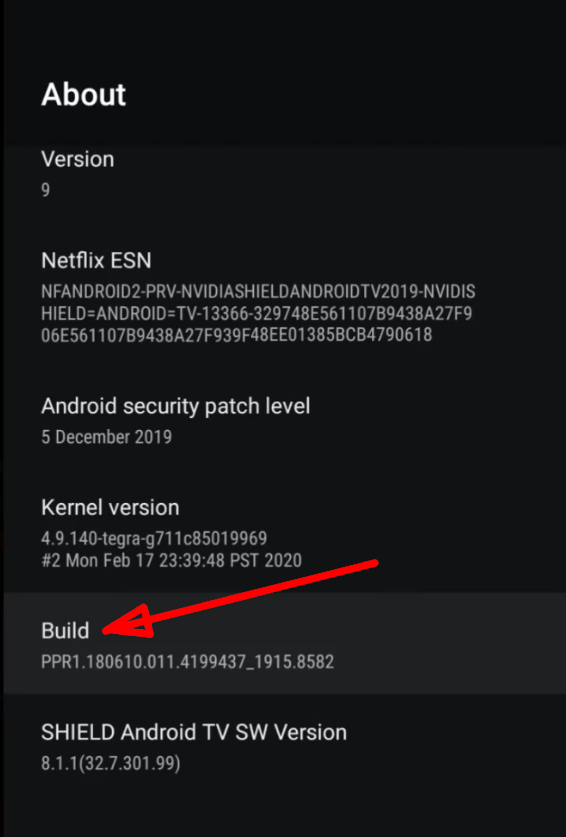
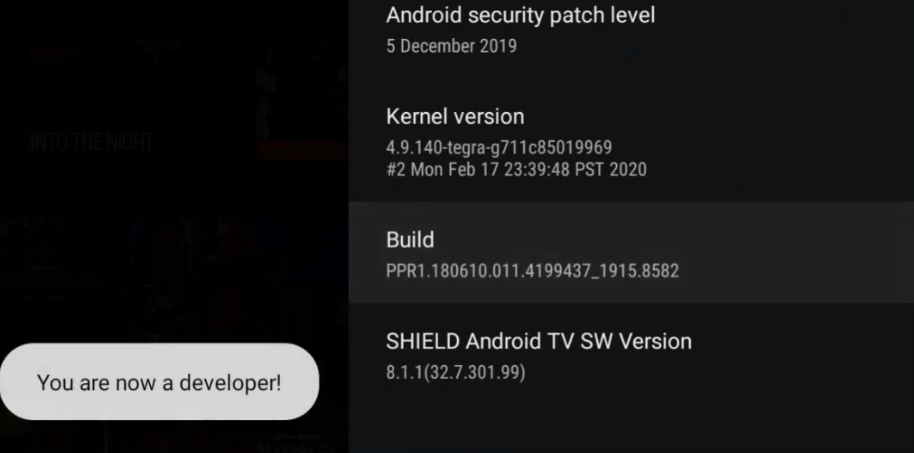
Click on Build about 8 times. (after about 4 times, you’ll start to see a countdown message) Then you’ll see a “You are now a developer” message.
Back out to Device Preferences and scroll all the way down to { } Developer options and go in there
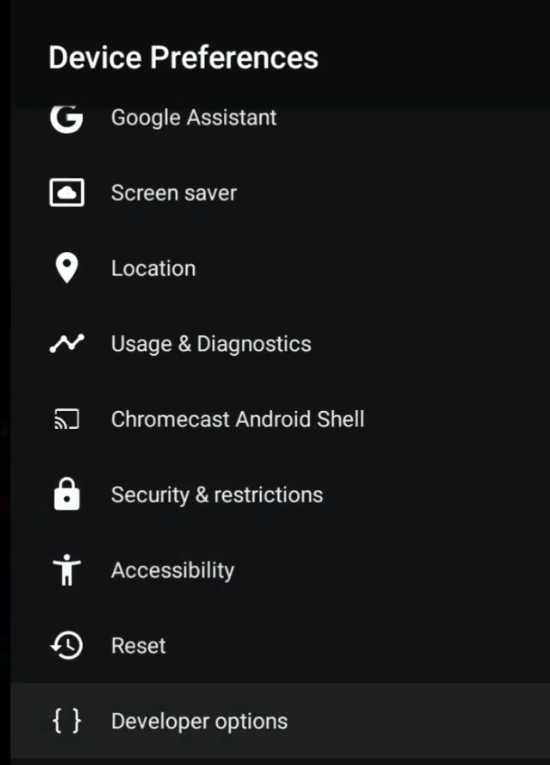
Scroll down to the Debugging section and enable Network debugging


Step 1 done!
Note: If you are accessing your Shield over LAN from a terminal on your PC go to the box titled “Step 2B – Allow widgets (on Shield) VIA LAN using ADB Dev kit” – below
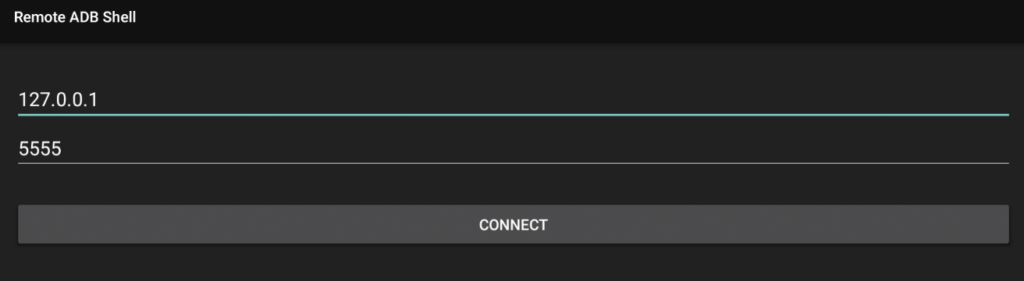
On your Shield, open the Remote ADB Shell app.
- On top line input 127.0.0.1 (this identifies the”home” of any device you use this IP address for, in this case, your Shield).
- on second line 5555 (this is the port number)
- Click connect
The first time you connect you will probably get this message. Check the “Always allow from this computer” and click OK

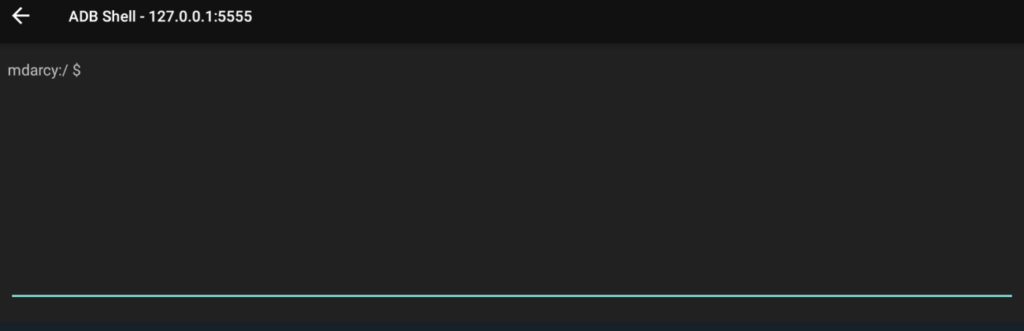
Once connected, you will see a shell prompt: either “mdarcy:/ $” or “darcy:/ $” or “foster:/ $” depending on the model you have.
You’ll need to input this command exactly as is. Copy and paste may be the easiest method
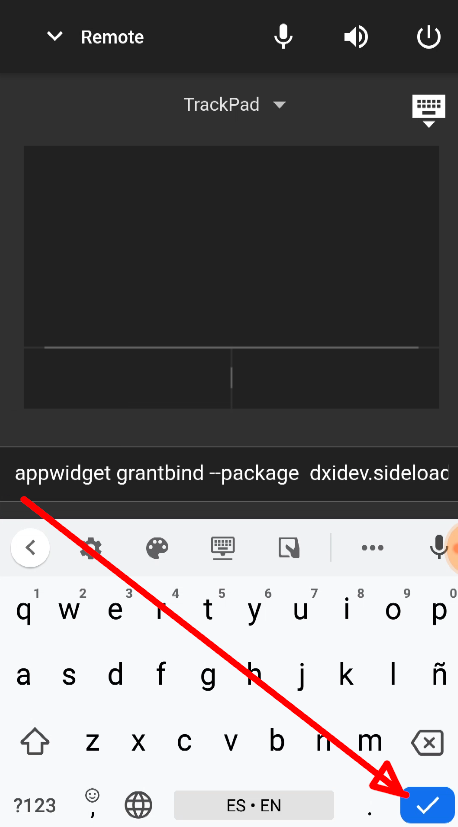
appwidget grantbind --package dxidev.sideloadchannel2 --user 0If installing from this tutorial, the easiest way to input the following command would be to copy this command using the Shield Remote app from the Play Store

appwidget grantbind –package dxidev.sideloadchannel2 –user 0
Still on your phone, go to the Shield app keyboard and paste it in
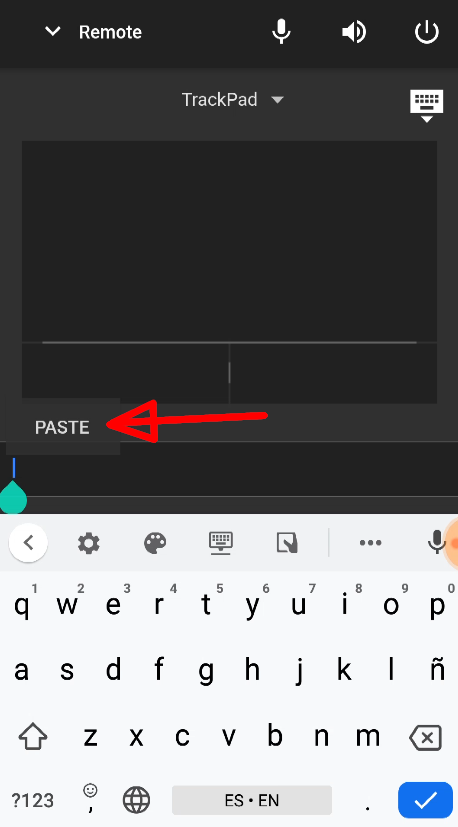
and tap on enter
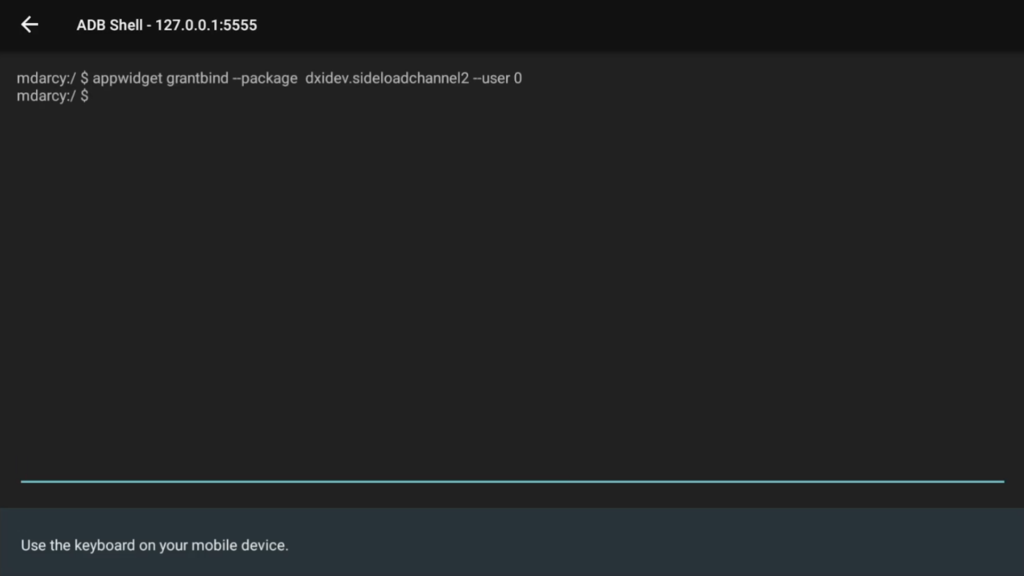
If there are no errors, you should see the text has been entered and the “mdarcy:/ $” prompt
Part 2a done! Now go to to “Step 3 – Configure Weather widgets in Sideload Channel Launcher 2“
If you skipped this step and went straight into Sideload Channel Launcher 2 Without executing this Remote ADB Shell command, you will get an error like this

If you wish to enable widgets on your Nvidia Shield TV from a PC on your LAN, and if you don’t already have ADB on your Windows, Mac or Linux Box, use >>> this guide <<<
You should have noted your Shield’s IP address by looking in Settings-Device Preferences-Developer Options-USB debugging
OK, assuming you have ADB Shell on your PC, open a terminal and connect to the your Shield’s LAN IP address and port number 5555. Use adb connect as below

You’ll get a “connected” response….Next copy this command and paste into terminal and enter
adb shell appwidget grantbind --package dxidev.sideloadchannel2 --user 0
If you don’t get an error, your terminal will look something like this:

You have now enabled widgets for the Sideload Channel Launcher 2 app on your Nvidia Shield TV!
Step 2 done!
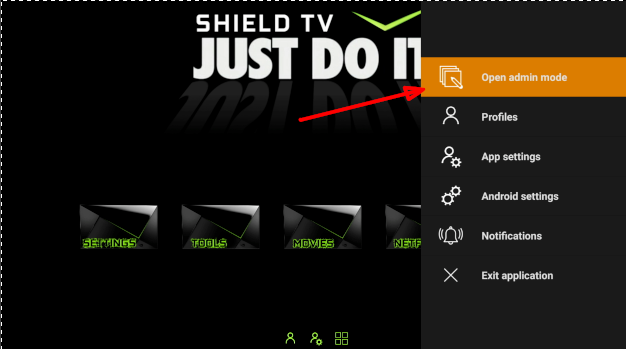
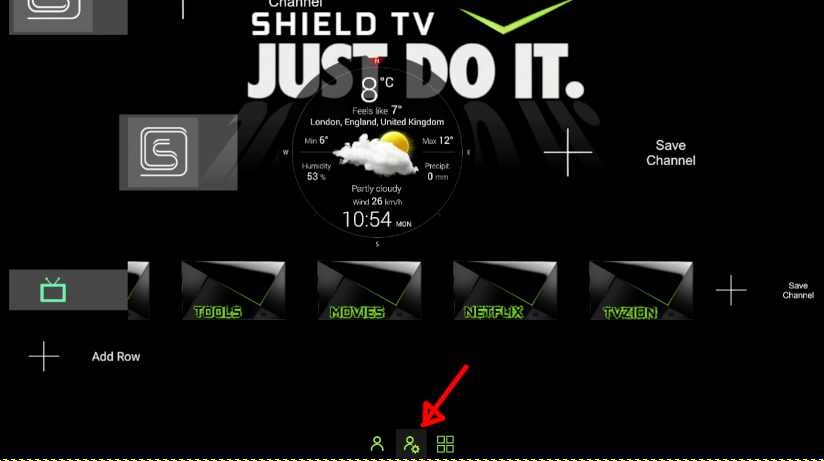
Starting with your layout, in this case a simple one row foive tile layout, click on the icon with the silhouette of a person and cog. This will open the app menu

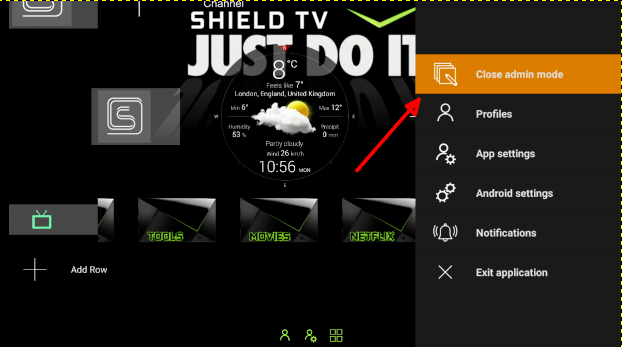
Select “Open admin mode”
(Optional) If you need another row, click “Add row”
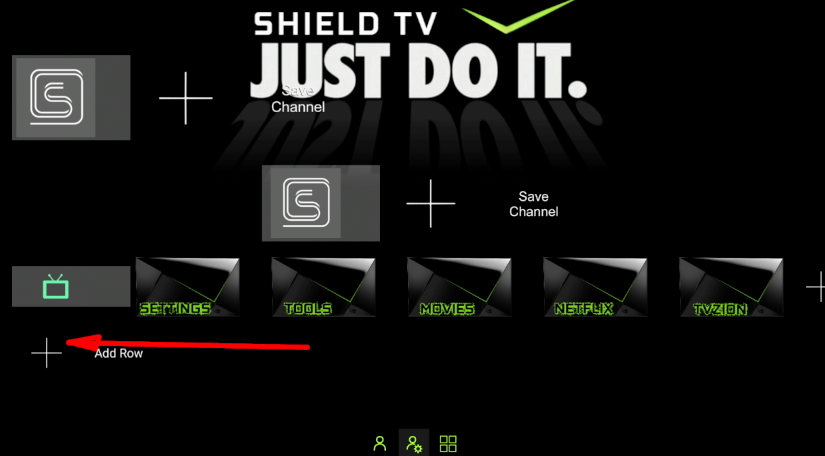
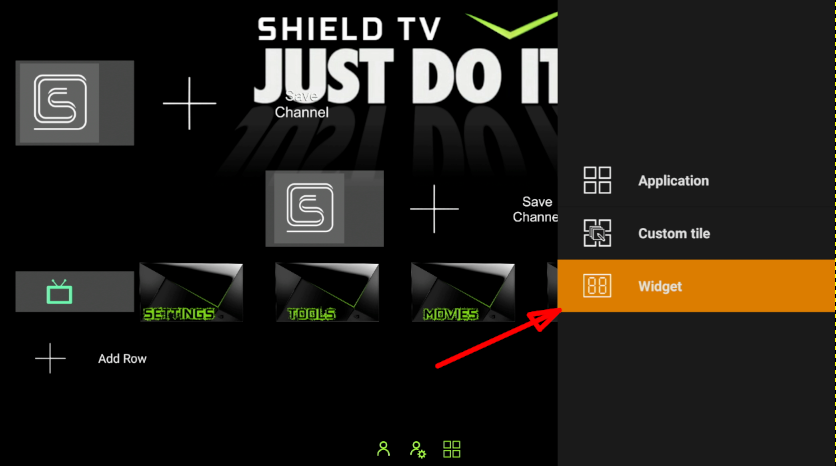
On any row, click the “+” sign to add a tile
Click “Widget”
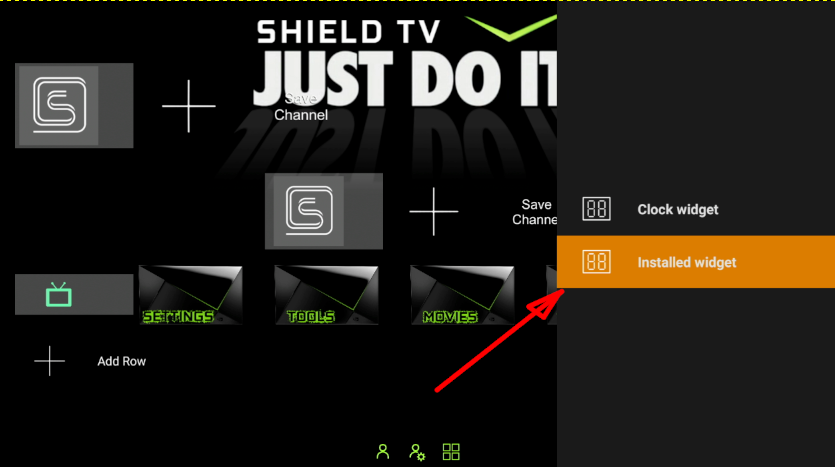
Click “Installed widget”
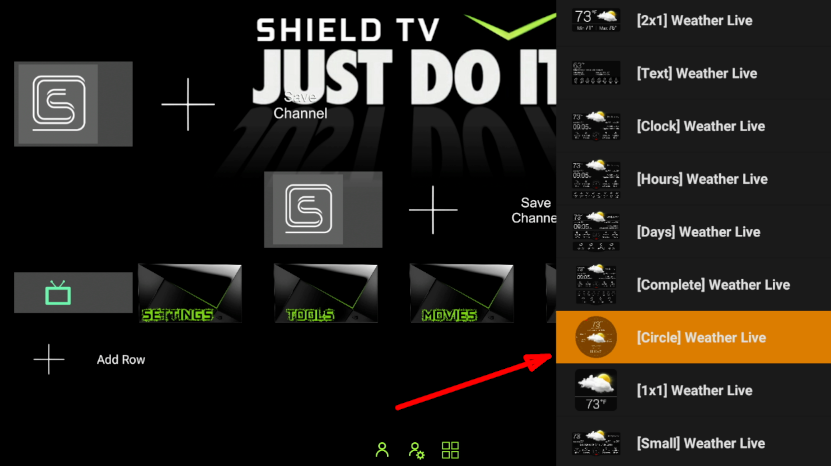
Scroll down to and click the widget you want (in this case the circular Weather Live widget is selected)
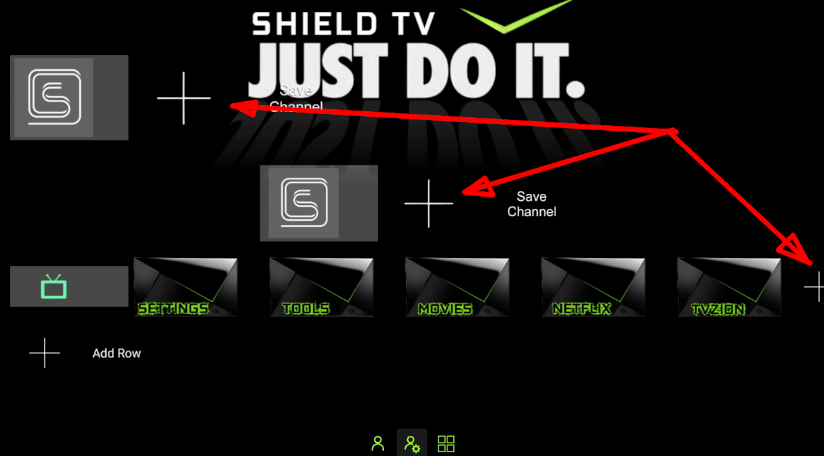
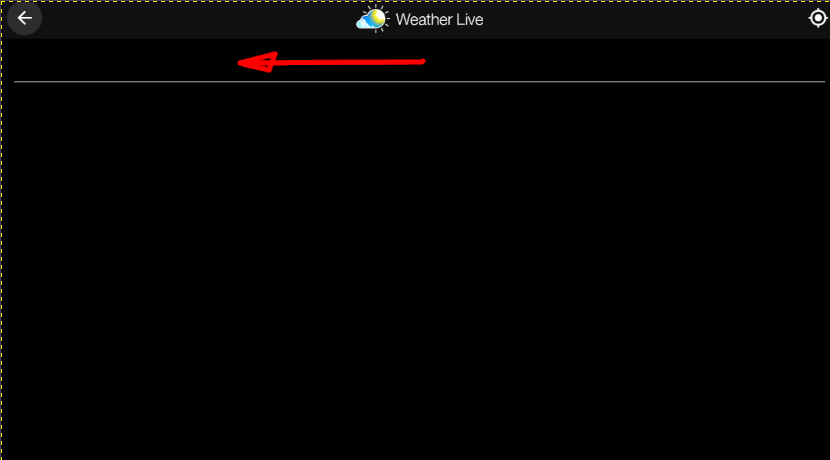
Using the trackpad on the Shield TV app on your phone, or using a USB mouse plugged into your Shield, click just above the white line (as in the picture below)
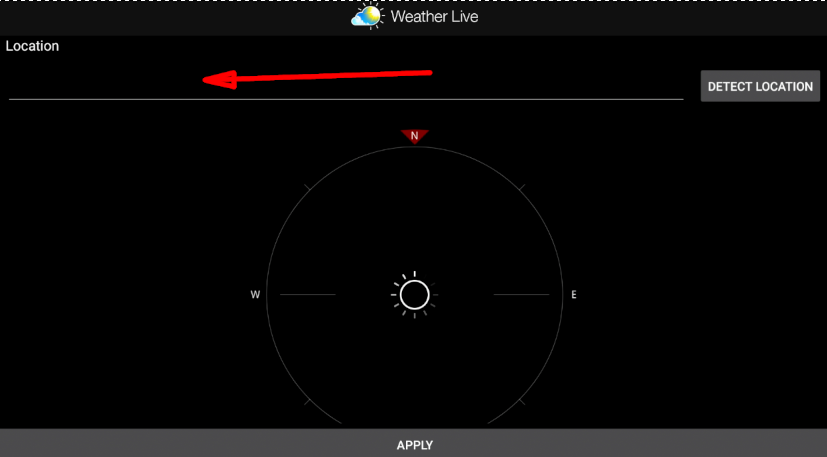
The click again just above that line
Using either the onscreen keyboard, or the keyboard on the phone app, or a usb keyboard plugged into the Shield, type in the location desired. In this example, the Shield app has been used.
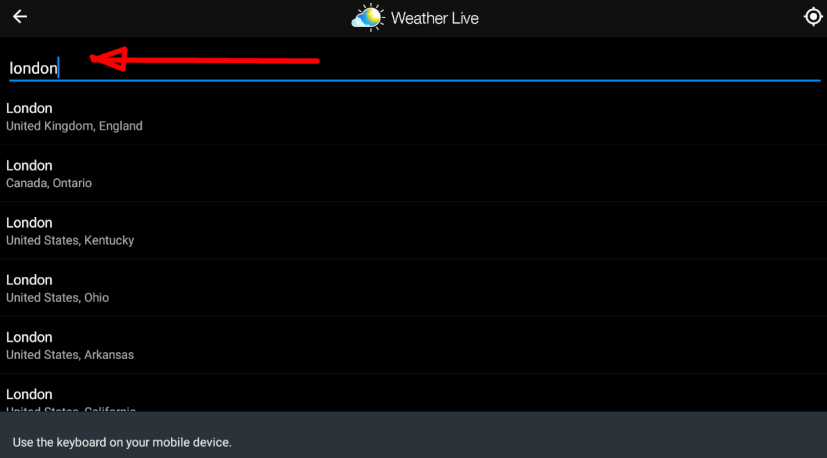
Select/click your desired location.

Navigating through the options a blue band will appear, select your location

Click “APPLY”
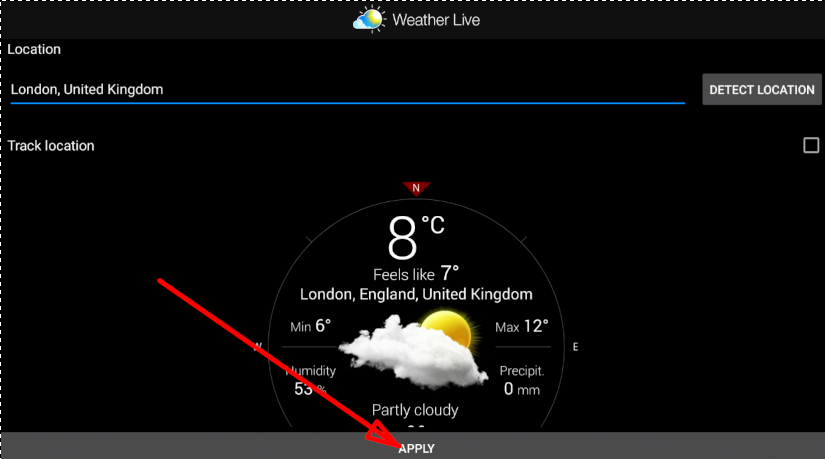
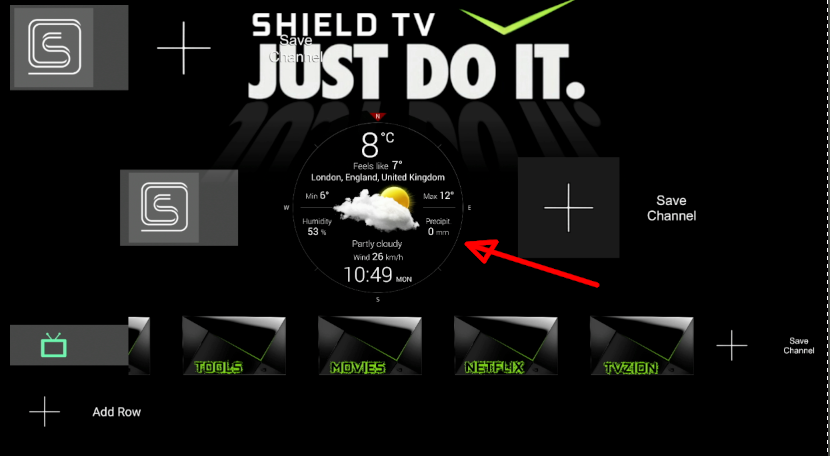
Your widget should appear in the admin mode area and after a few seconds, will populate with the location’s info.
Scroll, or come down to the bottom of the screen and click the icon of “person with cog” again
Click “Close admin mode”
Done!

You have successfully configured a widget on your Sideload Channel Launcher 2 home screen!