Sideload Apps from Phone or Tablet to Nvidia Shield TV

Tutorial: From Android Phone or Tablet to Android TV box – Sideload it!

Sideload Apps from Phone or Tablet to Shield Tv
Step 1 - Enable Developer options on your Shield TV

If you already have Developer Options enabled on your Shield, skip to Step 2 below

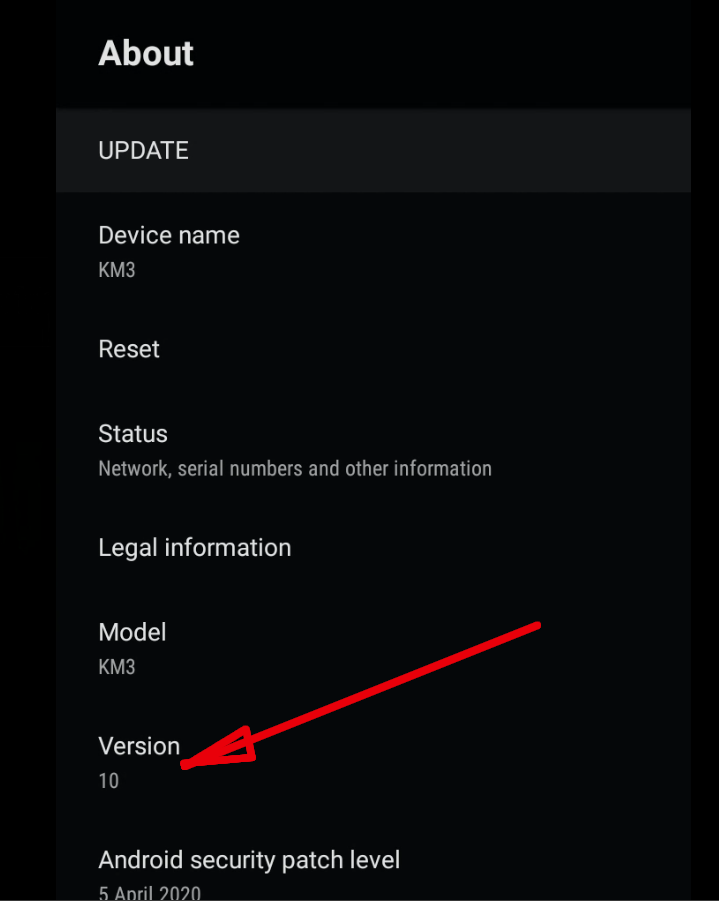
1: On your Nvidia Shield TV go to Settings->Device Preferences->About and scroll all the way down to Build

Settings-Build
Click “Build” 8 times

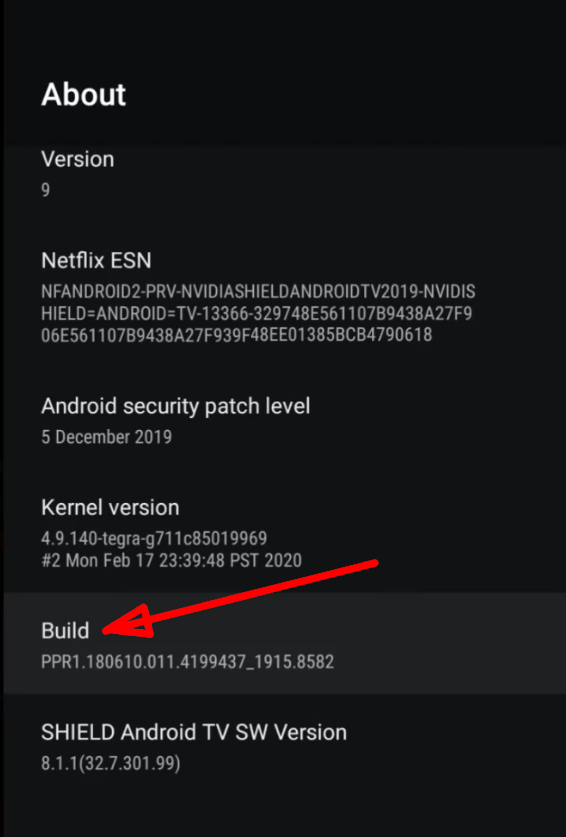
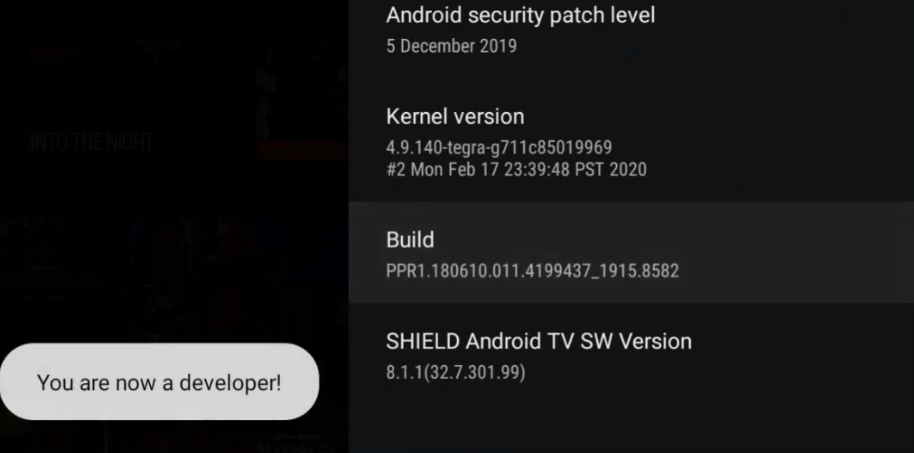
2: Click on Build 7 times. (after about 4 times, you’ll start to see a countdown message) Then you’ll see a “You are now a developer” message.

Developer
“You are now a developer”

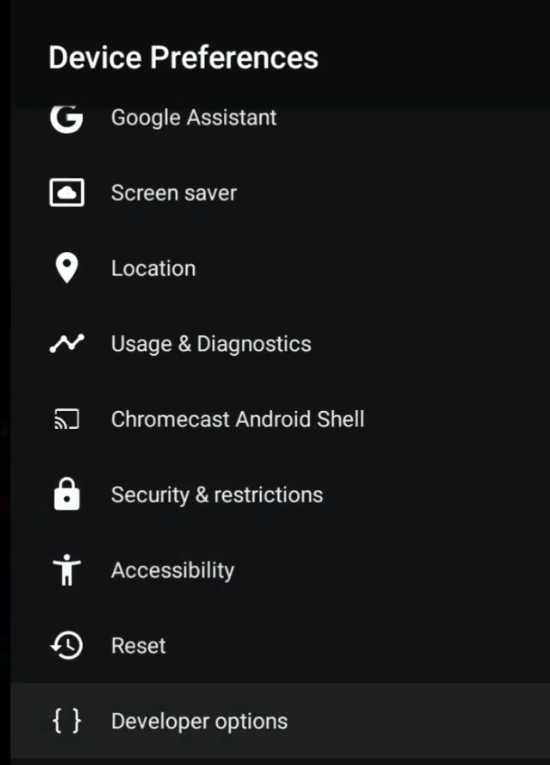
3: Click the Back button on your remote to go back to Device Preferences and scroll all the way down to { } Developer options and click into there

Select Developer Options
Go into Developer Options

4: Scroll down to the Debugging section and click enable Network debugging

Enable Network Debugging

Enabled! Note your Shield’s LAN IP address you may need it in the next step. Yours will be different to what you see here.

Shield’s LAN address – Yours WILL be different!

Step 1 done!

Now, go to your Android phone or tablet

Step 2 - Install & Setup Easy Fire Tools

5: On your Android phone or tablet, open Google Play Store and search for “Easy Fire Tools”

Search for “Easy Fire Tools”

6: Click Install

Install

7: Once installed, open the app and click the icon (second from right at the top

Click “scan for devices” icon

8: Your device should be listed with the LAN IP address you noted down earlier. Click on that to select.

9: Next, click on the icon top right to connect to the device and you’ll see a “connected to ….(xxx.xxx.xx.xxx)” message

NOTE: You might have to allow a connection on your target device – click “always” and “OK”

On your Shield click “Always allow” and OK

10: Select the app you want to install (in this example case I selected “ATV Launcher”) and clcik “Yes”

11: Once installed, you see a “Operation successful” message

Operation successful

NOTE: You can also install apks that you have downloaded (to your phone) on to your Shield too.

12: Click on “Downloads” and “Allow” access when asked…

Click “Downloads” and “Allow”

13: As before, select the apk you want to install on your Shield and install as before – here I select the Weather apk

14: As before, you will see an “Operation successful” message.

Click the green icon, top right to disconnect.

Done

Associated YouTube video

Update/Install Android TV OS 10 on MeCool KM3 (and KM9)

Android TV 10.0 Update Instructions

The MeCool KM3 4k streaming device shipped with Android TV OS Pie (9.0). In fact, we got this terrific streaming device in May last year (2019) and it was, at the time, one of the first Android boxes to boast Android TV 9.0. This was THREE months before the Nvidia Shield TV got its first taste of Pie…

Android TV 10

Where to Buy*
MeCool KM3:

MeCool Direct (10% discount on MSRP):
Gearbest: 64gb 128gb:
Banggood: 64gb 128gb

MeCool KM9 32Gb:
Amazon.comGearBestBanggood

MeCool KM1: Amazon.com
Gearbest: 4/32GB4/64Gb

Banggood: 4/32Gb4/64Gb

We were impressed by many aspects of this box and, at the same time, let down by 2 flaws: 1) no Netflix compatibility due to MeCool’s spat with Netflix over the dodgy use of Netflix certification keys in the past and 2) its 100Mb ethernet port, whilst not a deal breaker for most users, does seem at odds with most other streaming boxes out there.

One feature the KM3 came with was an OTA update option (kinda similar to the Shield’s update function which keeps that top dog up to date and contemporary even after 5 years!). On the MeCool it didn’t ever do anything! However there was also local update option…..

After more than a year on the market, MeCool have released and updated firmware which makes it one of the first, if not THE FIRST (?), Android TV OS box to boast Android 10. Yehaw! Oh and BTW, also available for the KM9 boxes too.

BUT, not for the newest KM1, as of today’s date though I’m sure that’ll be along very soon.

Right then, I hear you asking… “How can I update my box then?” …read on… Either follow the steps below or the video at the bottom of this page….

WARNING – back up any data, files, etc you can’t afford to lose, this is a complete firmware replacement – all previous settings will be lost – you have been warned!

Step 1: Visit this >> link << and download the newest firmware (zip file) for your device:

Step 2: Once downloaded, copy that zip file to the root directory of a USB thumb drive (preferably with FAT 32 format)

Step 3: Plug into your MeCool device

Step 4: Go to Settings→About→Update and select “Local Update”

Step 5: Select the zip file from your USB drive (KM3-ota-amlogic-V1.20200515.zip)

Step 6: Next, click on “Confirm”

Step 7: As mentioned earlier, you’ll get a warning to back up any data you want to save. If you’ve done that already, click “Update”.

On clicking “Update”, you’ll see this:

Allow the device to install the new firmware – DO NOT power off during this process – there will be several automatic reboots.

One of the screens you’ll see is this (probably twice!):

and this (2 or 3 times!):

Step 8: When you see this screen, pair your remote by holding the “-” and “OK” buttons together, “while holding near the KM3 box”

Step 9: You’ll get to the setup screen where you’ll have the option to setup an account or from your phone.

Step 10: Confirm you’ve got Android TV 10 installed by going to→Settings→Device Preferences→About and look at version number.

Done! You’ve now got Android TV version 10!

Where to Buy*
MeCool KM3:

MeCool Direct (10% discount on MSRP):
Gearbest: 64gb 128gb:
Banggood: 64gb 128gb

MeCool KM9 32Gb:
Amazon.comGearBestBanggood

MeCool KM1: Amazon.com
Gearbest: 4/32GB4/64Gb

Banggood: 4/32Gb4/64Gb

MeCool Video - YouTube